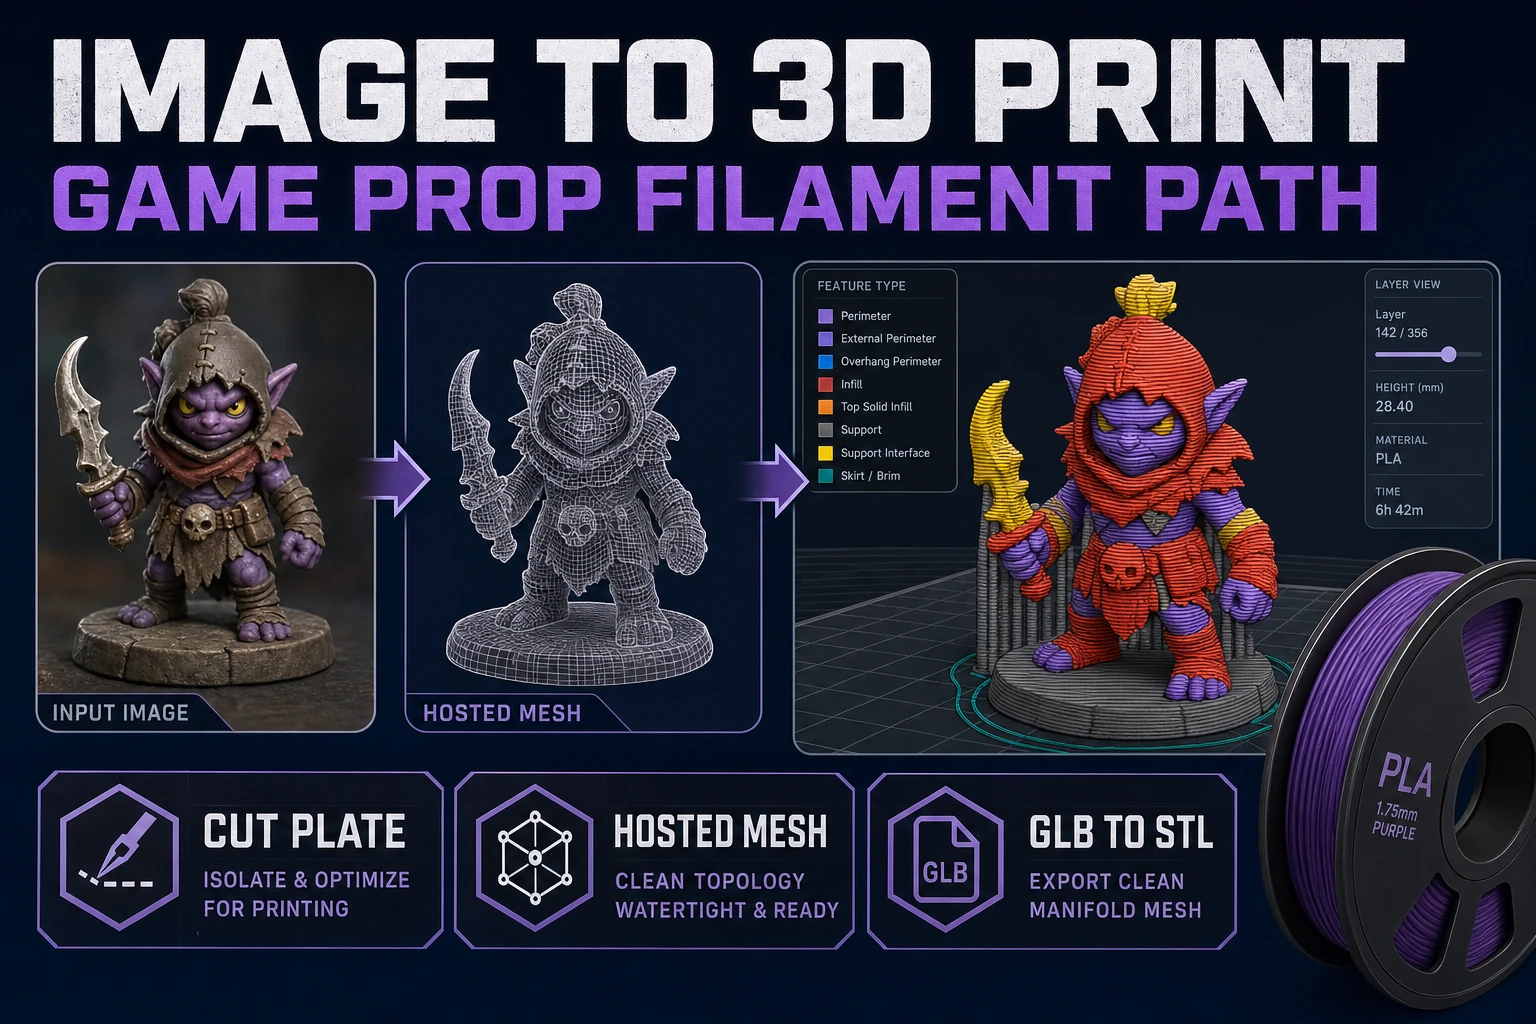
Every “image to 3D print” tutorial on the internet shows one button and hides three tools. The button generates a mesh; the three tools are the ones that turn a phone photo into something a slicer will actually feed to a printer. Skip any of them and the print fails.
What image to 3d print actually means in 2026
The search phrase image to 3d print covers two different outcomes and the difference matters. One is a game prop — a figurine, a shelf statue, a tabletop miniature, a cosplay charm. The other is a functional part — a bracket, a housing, a replacement gear. Every honest hosted image-to-3D model in 2026 can produce the first shape. None of them will hit the tolerances that make the second shape actually work in real hardware.
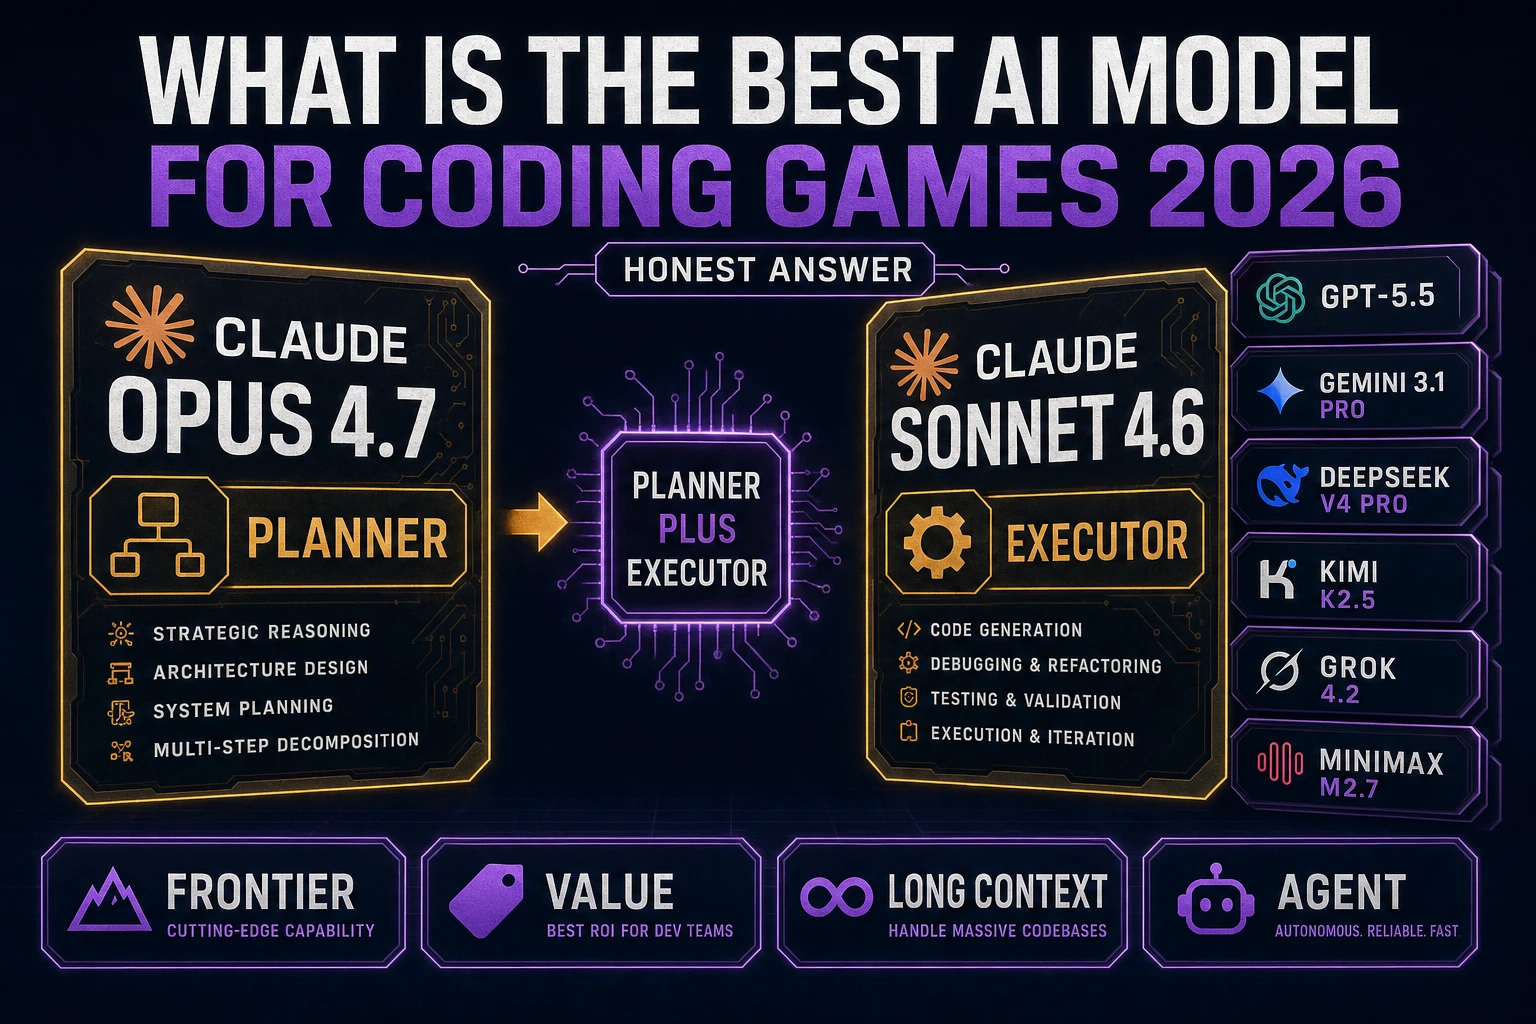
The reason is topology plus back-of-object guessing. When you feed a single photo into 3D printing’s upstream pipeline, an image-to-3D model has to invent the geometry the camera never saw. Tripo, Meshy, Hunyuan, and TRELLIS all do this differently, but they all guess. That is fine for a prop where the unseen side is close enough to the seen side. It is fatal for a bracket with a specific hole pattern on the back that the model will fabricate from prior instead of measurement.
This walkthrough assumes you want the first outcome: a printable game prop or figurine from a single photo, using Sorceress 3D Studio as the mesh generator and one of the standard consumer FDM slicers as the printer front-end. Every price and model version cited is verified against the source code in src/lib/threed-models.ts and src/app/bg-remover/page.tsx on July 29, 2026.
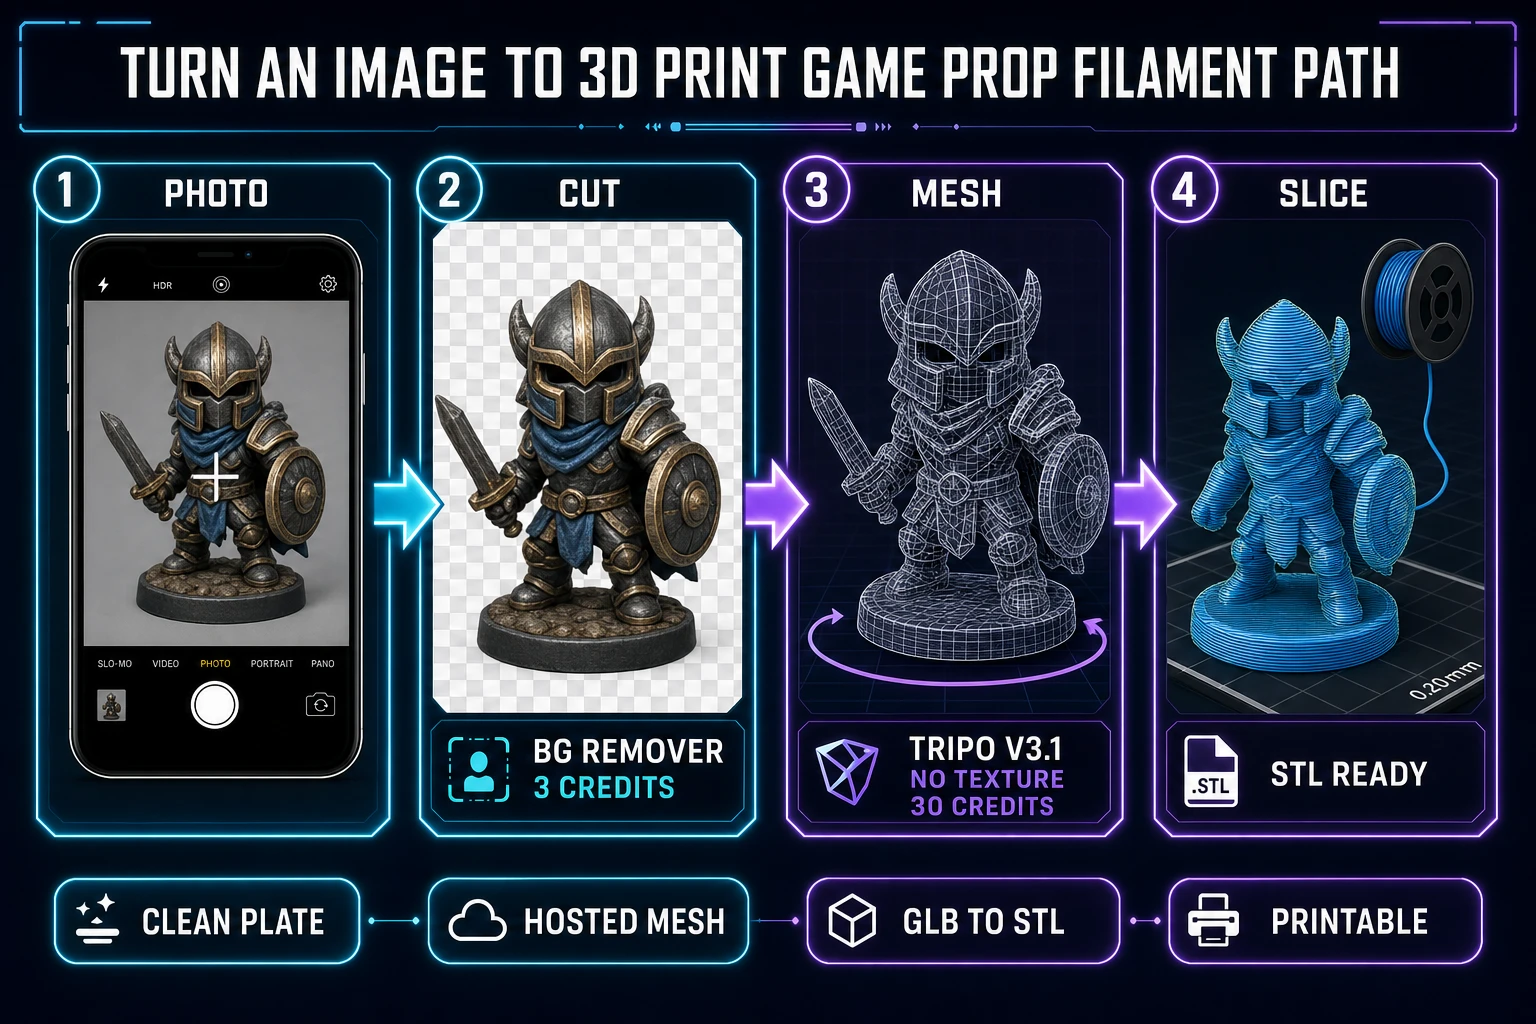
The workflow at a glance
- Shoot or find a clean reference photo of the subject.
- Cut the background with Sorceress BG Remover (3 credits).
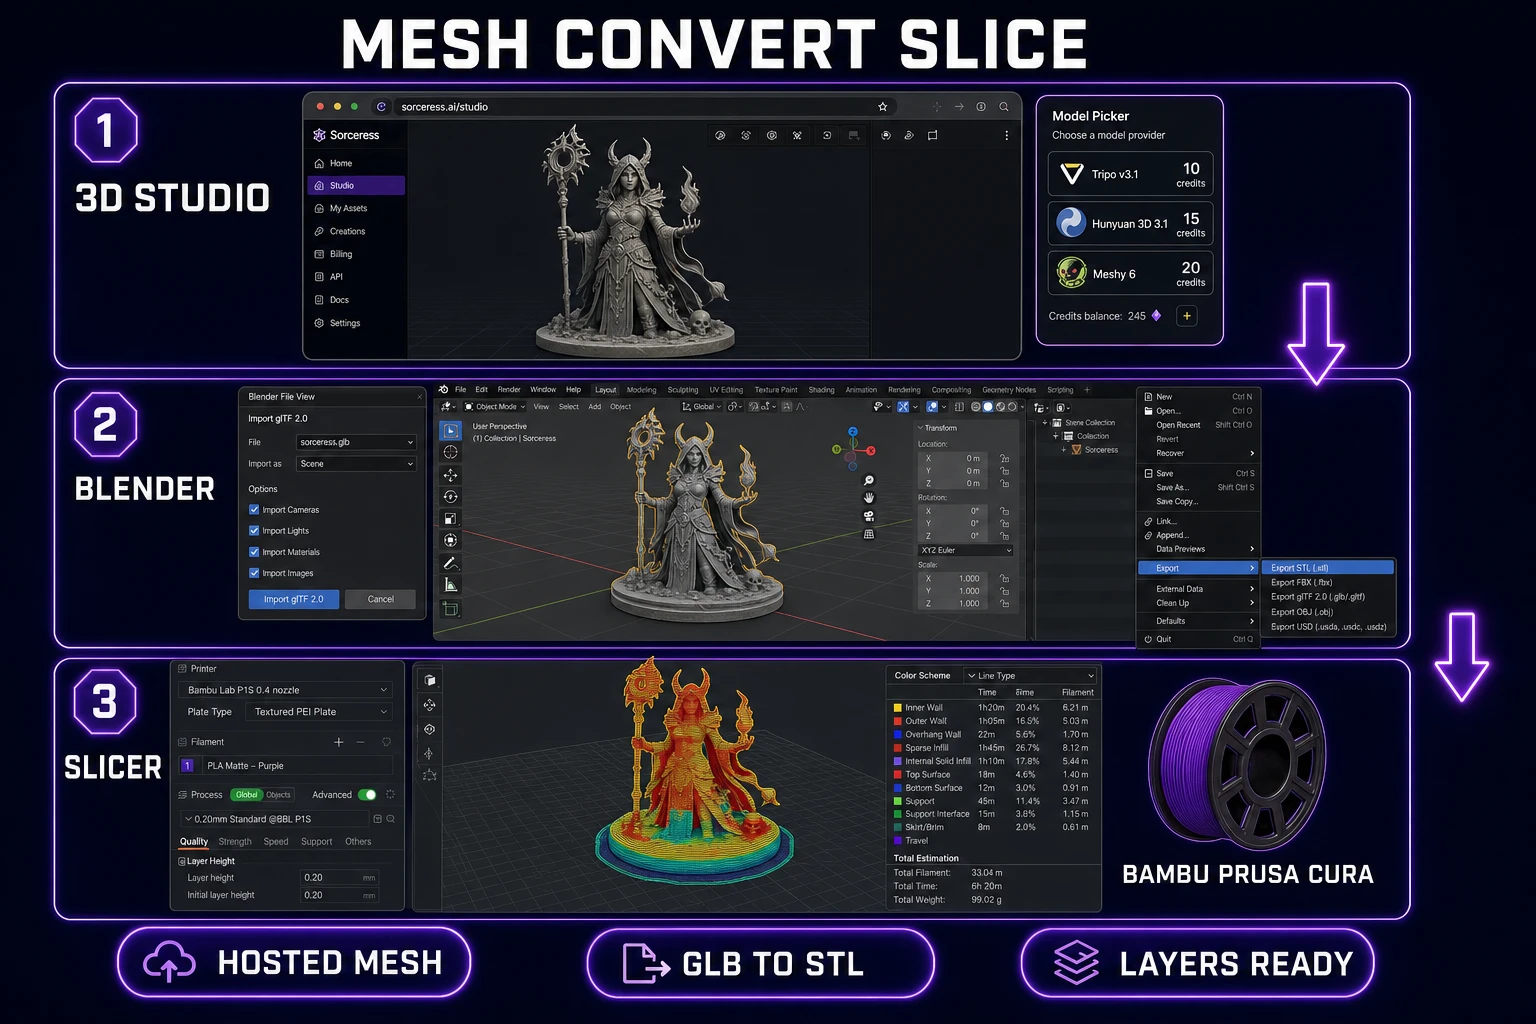
- Upload the cutout to 3D Studio, pick an image-to-3D model with texture set to “no”, and generate. Tripo v3.1 no-texture is 30 credits; Hunyuan 3D 3.1 is 30 credits base.
- Orbit-check the mesh in the 3D Studio viewer. If the back looks wrong, either retry with a different model or shoot a second reference and switch to multi-image-to-3D mode.
- Download the GLB from 3D Studio.
- Convert the GLB to STL in Blender (or any GLB-to-STL converter).
- Load the STL in Bambu Studio, PrusaSlicer, Cura, or OrcaSlicer. Scale, orient, add supports where the priors made the base ambiguous, and slice.
- Print. If it fails at layer one, the issue is the base flatness of the generated mesh, not the slicer.
Eight steps, three tools, one filament spool. Do not try to skip step 6 — GLB is a game engine format, not a slicer format, and consumer slicers will not eat it directly.
Shoot a plate the mesh models can read
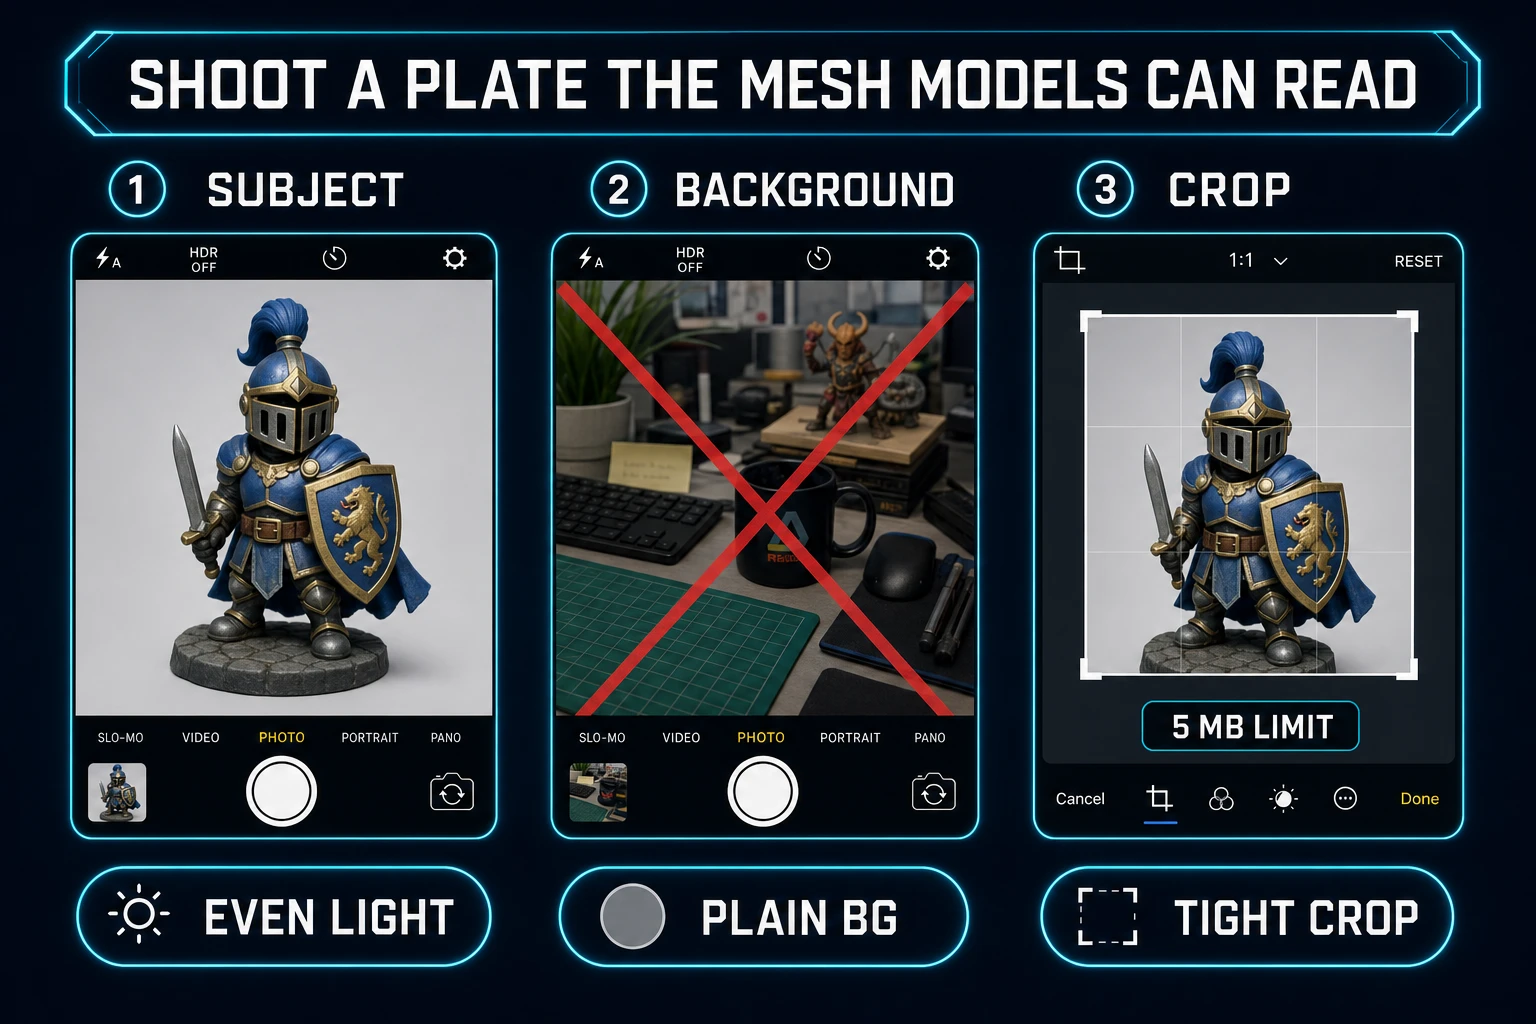
Every hosted image-to-3D model will improve if the source photo is closer to what its training data expects. That means centered subject, even light, plain background, and a tight crop. Get any of those wrong and the mesh will fight the priors instead of using them.
- Centered subject. The subject fills roughly 60–80% of the frame. If the subject is a floating asteroid in the middle of a busy room, the model will guess wrong about scale and orientation.
- Even light. One soft overhead light, no hard side shadows. Meshy’s image-enhancement stage tries to strip lighting but it is happier if the plate arrived clean. In Sorceress 3D Studio, Meshy 6 defaults to
remove_lighting: true; it is still not magic. - Plain background. A gray or white wall beats any “interesting” setup. Wood grain in the back becomes wood grain baked into your mesh silhouette.
- Tight crop. Bounding box tight to the subject, no extra sky. Then rely on the
MAX_FILE_SIZE_MB = 5limit insrc/app/bg-remover/page.tsx— any bigger and BG Remover rejects the upload.
Do the cutout even when the background is already plain. BG Remover’s alpha matte gives 3D Studio a hard silhouette, which every image-to-3D provider treats as a signal about where the subject actually ends. On a busy plate, skipping the cutout is the single biggest source of “why did the mesh add a floating chunk” complaints. Three credits is a bargain to avoid re-running a 30-credit mesh.